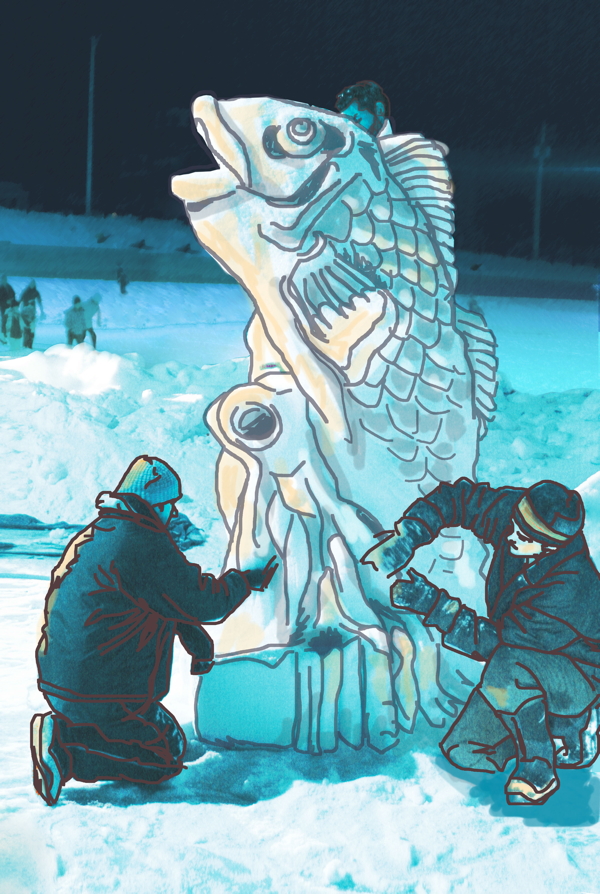
8 Snow Sculpting Tips
V1 Staff, illustrated by Beth Czech |
 We got some frosty advice on sculpting snow from local snow sculpting team The Starvin’ Carvists – the reigning US champions in the chilly art form!
The tools they use: Sketchpad and clay (for concept in advance), snow, ladder, shovel, big saw, medium saw, small saw, horse brush, paint brush, warm clothes, ice chippers, portable lighting, and any other tool that removes / scrapes / cuts / smooths snow.
The skills that help: Creativity, hard work, perserverance, heavy lifting, sanding, balancing on ladders, willingness to keep working through cold and exhaustion.
8 Great Tips!
1. Start with a well-packed mold, formed by 4 big plywood walls that come apart to reveal the packed snow.
2. Wear knee pads and warm, waterproof boots.
3. Balance the weight of the sculpture with a solid base.
4. Wear stylish, warm clothes in layers. You’ll get very cold, and occassionally warm (necessitating shedding a layer).
5. A small, double-sided saw works well for small details.
6. Cut large areas to form the greater whole first, then move on to finer details.
7. Work around the entire piece and at every angle.
8. Do it as a group, and have an audience to appreciate it!


